Steps of Installation
1. Nail Preparation
-
Cleaning and disinfection : Wash and disinfect hands.
-
Pushing back cuticles : Use a wooden stick.
-
Filing : Remove natural shine with a buffing block.
-
Dusting and degreasing : Brush and cleaner for optimal adhesion.
2. Installing the Capsules (Optional)
-
Size selection : Adapt the capsule to the nail.
-
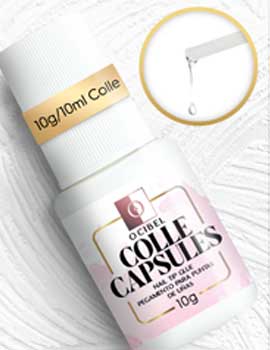
Fixing : Apply glue and hold for 7 seconds.
-
Filing the capsule : Even out the transition with the natural nail.
-
Applying the primer : Prepare the gel for adhesion.
3. Applying the Base Gel
-
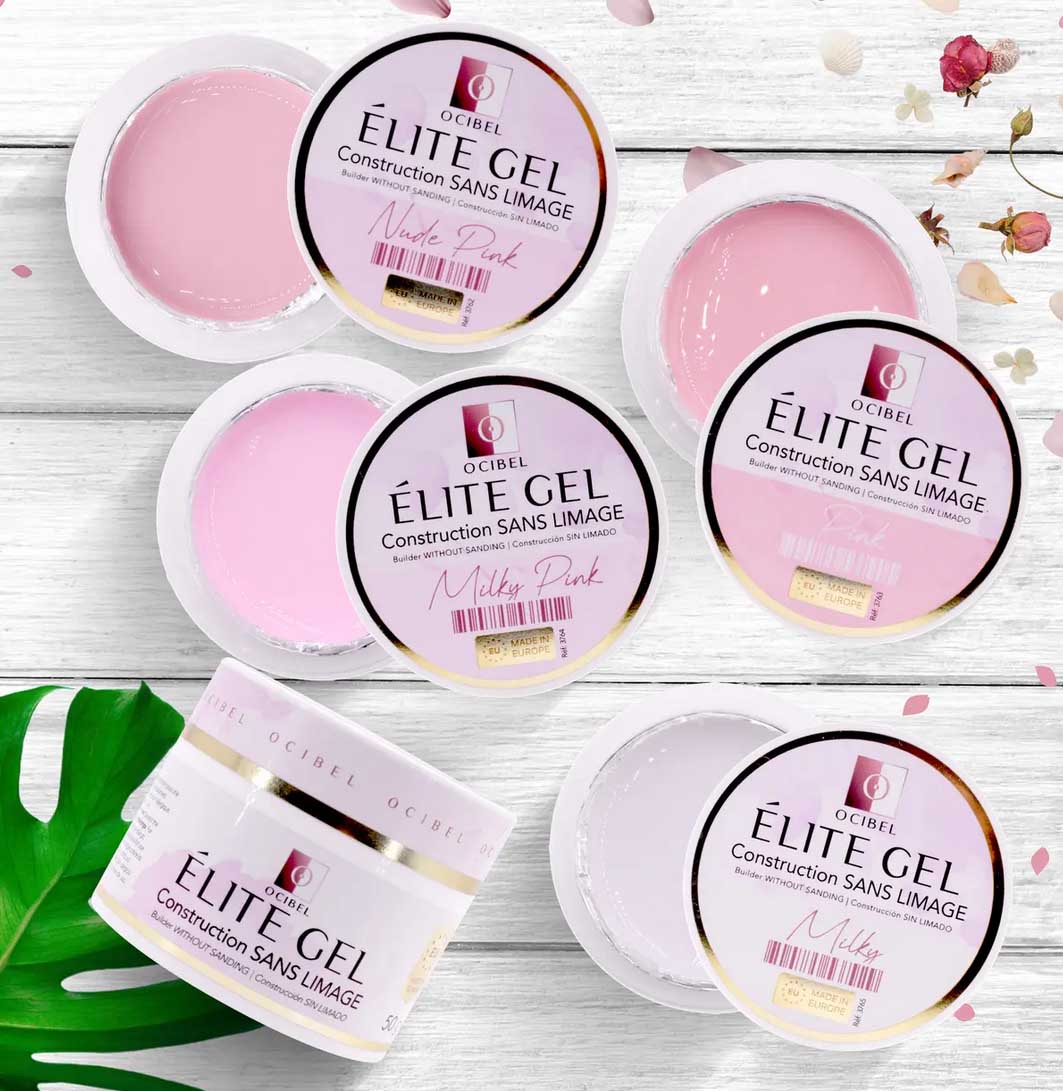
Application of single-phase gel : Thin layer over the entire surface.
-
Catalysis : 2-3 min under UV or 60 sec under LED.
4. Application of Camouflage Gel (Optional)
-
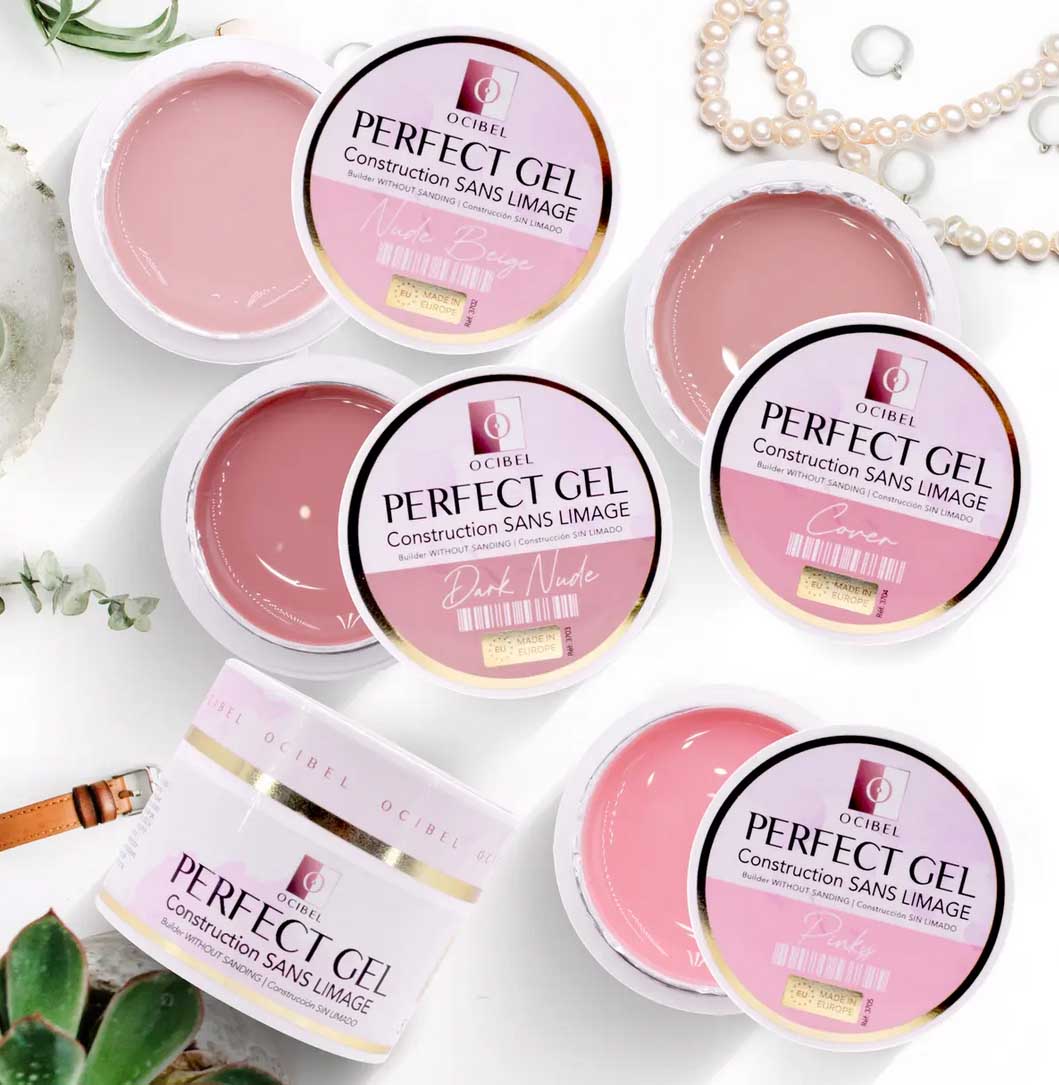
Color uniformity : One or two thin coats.
-
Catalysis : 2 min under UV or 60 sec under LED.
5. Applying the French Manicure
-
Application of the white gel : Trace the French with a brush.
-
Fixing : Cure for 5 seconds per nail, then 2 minutes under UV.
6. Application of the Construction Gel
-
Creating the bulge : Apply the gel in a thin layer then add a ball of gel to the stressed area.
-
Catalysis : 15 seconds in front of the lamp, then 10 seconds under the lamp.
-
Filing and dusting : Smooth and shape the nail.
7. Applying the Colored Gel (Optional)
-
Application in two thin layers : Catalyze between each layer.
8. Finishing and Protection
-
Application of single-phase gel : For a shiny and smooth finish.
-
Final catalysis : 2 min under UV or 60 sec under LED.
-
Cleanse and moisturize : Cleaner to remove the sticky layer, followed by a nourishing cuticle oil.
Important Tips
-
Do not expose gel pots to UV/LED light.
-
Always degrease well between steps.
-
Avoid contact of the gel with the skin.
With this protocol, you will obtain a professional and long-lasting manicure while preserving the health of your natural nails!


